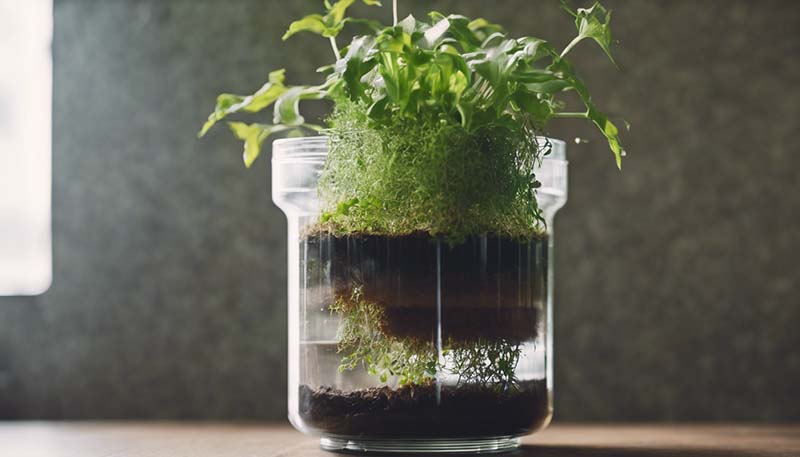
DIY Indoor Gardening: How to Make a Self-Watering Planter
Creating a self-watering planter can be a fun and rewarding project for indoor gardeners. Not only does it help maintain consistent moisture levels for plants, but it can also reduce the frequency of manual watering and save you time. In this guide, we'll walk you through the steps to create your own self-watering planter using common household items and a bit of creativity.
Materials Needed
Before you start, gather the following materials:
- A container to serve as the planter (e.g., plastic bucket, clay pot, or wooden box)
- A smaller container or bottle for the water reservoir
- Gravel or small rocks
- A piece of cloth or a coffee filter
- Plants and potting soil
- Optional: paint or decorative materials for personalization
Step-by-Step Guide
Step 1: Choose Your Planter
Pick a container that will hold your plants and the water reservoir. Ensure it has drainage holes if it's not already designed for self-watering.
Advertisement
Step 2: Prepare the Water Reservoir
Find a smaller container that can fit inside your planter. Clean it thoroughly and ensure it doesn’t have any holes.
Step 3: Create a Wicking System
The wick will draw water up from the reservoir to the soil. You can use strips of fabric, nylon stockings, or even thick paper towel rolls.
Step 4: Assemble the Planter
- Place a layer of gravel at the bottom of the planter for drainage.
- Place the smaller water reservoir in the planter, ensuring it sits above the layer of gravel.
- Cover the opening of the water reservoir with a piece of cloth or a coffee filter to prevent soil from getting into the reservoir.
- Add a layer of soil on top of the cloth or filter.
- Plant your plants in the soil, ensuring the roots have access to the wicking material.
- Place the wick in the water reservoir so that one end is submerged in water and the other end is buried in the soil next to the plants.
- Add water to the reservoir so that the wick can absorb it.
Step 5: Decorate and Personalize
If you wish, you can paint your planter or add decorative elements to match your home decor.
Step 6: Maintain Your Planter
Monitor the water level in the reservoir and refill it as needed. Also, ensure that the wick remains wet and functional.
Tips and Troubleshooting
Watering Frequency
With a self-watering planter, you won't need to water daily. However, you should check the soil moisture regularly and top up the water reservoir as needed.
Choosing the Right Plants
Select plants that are suitable for the conditions in your home and have similar watering needs.
Dealing with Mold and Fungus
To prevent mold and fungus, ensure your planter has good ventilation and avoid overwatering.
Conclusion
A self-watering planter is an excellent addition to any indoor garden. It's not only a sustainable way to maintain your plants but also a clever way to ensure they receive the right amount of water. With this DIY project, you'll be able to enjoy your indoor plants without the worry of under or overwatering.

Comment