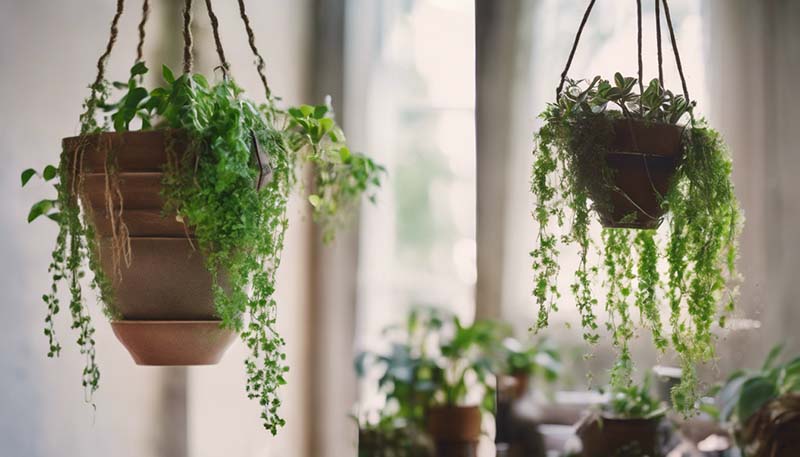
DIY Indoor Gardening: How to Make a Hanging Planter
Creating your own hanging planter is a fun and rewarding project that can add a touch of greenery to your home or office. Not only does it beautify your space, but it also helps to improve air quality and create a calming atmosphere. In this article, we'll walk you through the steps to create your own hanging planter using simple and affordable materials.
Materials
- A wooden or plastic box (with drainage holes)
- Rope or twine
- Screws or nails
- A drill or hammer
- Soil
- Plants of your choice
Instructions
Step 1: Choose Your Box
Start by selecting a box that will serve as the base for your hanging planter. You can use a wooden or plastic box, but make sure it has drainage holes at the bottom to prevent water from accumulating and causing root rot. If your box doesn't have drainage holes, you can easily add them using a drill or a nail and a hammer.
Advertisement
Step 2: Create the Hanging Mechanism
Next, you'll need to create a hanging mechanism for your planter. You can do this by attaching ropes or twine to the sides of the box. To do this, drill a hole into each corner of the box, then thread the rope or twine through the holes and tie a knot to secure it. Make sure the ropes are long enough to allow the planter to hang at the desired height.
Step 3: Add Soil and Plants
Once your hanging mechanism is in place, it's time to add some soil and plants to your hanging planter. Start by adding a layer of soil to the bottom of the box, then carefully place your chosen plants into the soil. Fill in any gaps with more soil, making sure to leave a small gap at the top for watering.
Step 4: Water and Care for Your Plants
After your plants are in place, give them a good watering to help them settle into their new home. Be sure to follow the specific care instructions for each type of plant you've chosen, as different plants will have different light, water, and soil requirements.
Step 5: Hang Your Planter
Finally, it's time to hang your planter! Find a suitable location where your plants will receive the right amount of light, then use the ropes or twine you attached earlier to hang your planter from a hook or beam. Make sure the planter is secure and won't fall or swing too much in the wind.

Conclusion
Creating a hanging planter is a simple and enjoyable DIY project that can bring a touch of nature to any indoor space. With a few basic materials and some creativity, you can create a beautiful and functional planter that will brighten up your home and improve your mood. So why not give it a try and start your own indoor garden today?
Comment