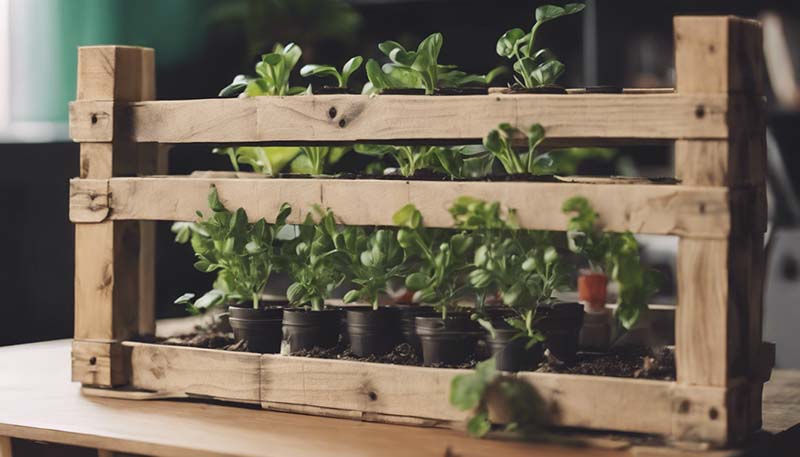
Are you looking to add a touch of greenery to your home but lack the space for a traditional garden? Or perhaps you\'re just looking for a creative way to grow your favorite plants indoors? Either way, a pallet planter is a great solution. Not only is it a space-saving and cost-effective option, but it also adds a touch of rustic charm to your home decor.
In this article, we\'ll walk you through the process of creating your own pallet planter step by step. With just a few simple tools and materials, you can have a beautiful and functional indoor garden in no time.
What You\'ll Need:
* Pallets (wooden or plastic)
* Wood or plastic paint (optional)
* Paintbrush
Advertisement
* Sandpaper
* Measuring tape
* Saw or pallet disassembler
* Drill
* Screwdriver
* Wood screws
* L-brackets
* Soil
* Plants
* Watering can
Step 1: Choose Your Pallet
The first step in creating your pallet planter is to choose the right pallet. You can find pallets at hardware stores, home improvement centers, or even for free from businesses that use them for shipping. If you\'re using a wooden pallet, make sure it\'s made of untreated wood to avoid any chemicals that could harm your plants.
Step 2: Prepare the Pallet
Once you\'ve chosen your pallet, it\'s time to prepare it for planting. Start by removing any nails or staples that may be present. Next, use a saw or pallet disassembler to break the pallet apart into individual pieces. You can choose to use the entire pallet or just a section of it, depending on the size of your planter.
Step 3: Sand the Pallet
Before you can paint or plant in your pallet, you\'ll need to sand it down to remove any rough edges or splinters. Use a piece of sandpaper to gently sand the entire surface of the pallet, including the top, bottom, and sides.
Step 4: Paint the Pallet (Optional)
If you\'d like to give your pallet planter a pop of color or protect it from the elements, you can paint it. Choose a paint that\'s suitable for outdoor use if you plan to place your planter in a sunny spot. Use a paintbrush to apply a thin, even coat of paint to the entire surface of the pallet, allowing it to dry completely before proceeding.
Step 5: Assemble the Pallet Planter
To create your pallet planter, you\'ll need to assemble the individual pieces of the pallet into a box shape. Start by arranging the pieces on a flat surface, making sure the edges are aligned and the corners are square. Use a drill and wood screws to secure the pieces together, attaching L-brackets to the corners for added stability.

Step 6: Add Soil and Plants
Once your pallet planter is assembled, it\'s time to add some soil and plants. Choose a well-draining soil mix and fill the planter to the top, leaving a small gap around the edges for watering. Select plants that are suitable for indoor growing, such as herbs, succulents, or small flowering plants. Arrange the plants in your planter, ensuring they have enough space to grow and receive adequate sunlight.
Step 7: Water and Maintain Your Pallet Planter
The final step in creating your pallet planter is to water and maintain it. Use a watering can to gently water the soil, being careful not to overwater or disturb the plants. Monitor your planter regularly, checking for signs of pests or disease and adjusting your watering schedule as needed.
Conclusion
A pallet planter is a versatile and stylish way to bring the beauty of nature indoors. With just a few simple tools and materials, you can create a functional and eye-catching indoor garden that will brighten up any space. Whether you\'re a seasoned gardener or a beginner, a pallet planter is a great way to start your indoor gardening journey. Happy planting!
Comment